
 Pin it
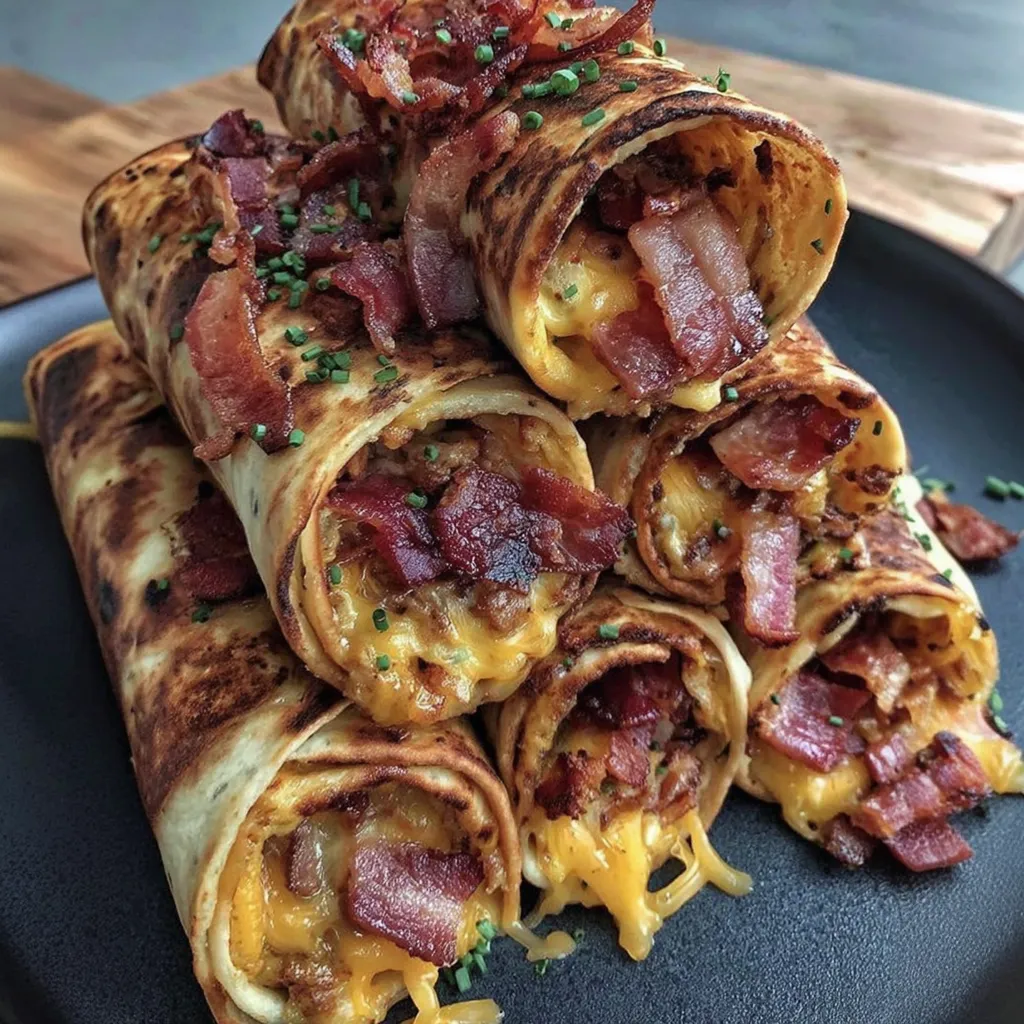
This garlic butter bacon cheeseburger rollup brings all your favorite burger flavors into a portable, shareable appetizer. The combination of crispy bacon, melted cheese, and garlicky butter creates an irresistible snack that disappears faster than you can make it.
These rollups have become my go-to solution for last-minute gatherings. I first made them for a football watch party, and now my friends specifically request "those bacon burger things" whenever we get together.
Ingredients
- Unsalted butter forms the base of our garlic butter, allowing us to control the saltiness of the final dish
- Garlic cloves provide that essential aromatic flavor that makes everything better use fresh for the most vibrant taste
- Dried parsley adds a touch of color and mild herbaceous notes to the butter mixture
- Salt and black pepper balance the flavors and enhance the burger experience
- Large flour tortillas create the perfect canvas thick enough to hold all the fillings without tearing
- Bacon brings the smoky, savory element that makes these taste like a real burger look for thickcut for best texture
- Cheddar cheese offers that classic burger sharpness that melts beautifully
- Mozzarella cheese contributes a stretchy, gooey texture that holds everything together
- Fresh chives bring a mild onion flavor and pretty green color as a finishing touch
Step-by-Step Instructions
- Create the Garlic Butter
- Combine melted butter with minced garlic, dried parsley, salt, and black pepper in a small bowl. Stir thoroughly until well incorporated. The warm butter helps the flavors meld together quickly, infusing the garlic essence throughout.
- Prepare Your Workspace
- Preheat your oven to 190°C and arrange your tortillas on a flat surface with plenty of room to work. Having everything ready before assembly makes the process much smoother.
- Assemble the Rollups
- Brush each tortilla generously with the garlic butter mixture, making sure to spread it all the way to the edges. Distribute crumbled bacon evenly across the surface, followed by both cheeses. The cheddar provides flavor while the mozzarella ensures that perfect cheese pull. Finish with a sprinkle of fresh chives if using.
- Roll with Purpose
- Starting from one edge, roll each tortilla tightly into a cylinder shape. The key is maintaining tension as you roll to ensure there are no air pockets. Place each rollup seam-side down on a parchmentlined baking sheet so they stay closed during baking.
- Finish and Bake
- Brush the tops and sides of each rollup with remaining garlic butter for extra flavor and to help them brown beautifully. Bake for 12 to 15 minutes until the tortillas turn golden brown and crispy, with cheese melting and bubbling from the ends.
- Slice and Serve
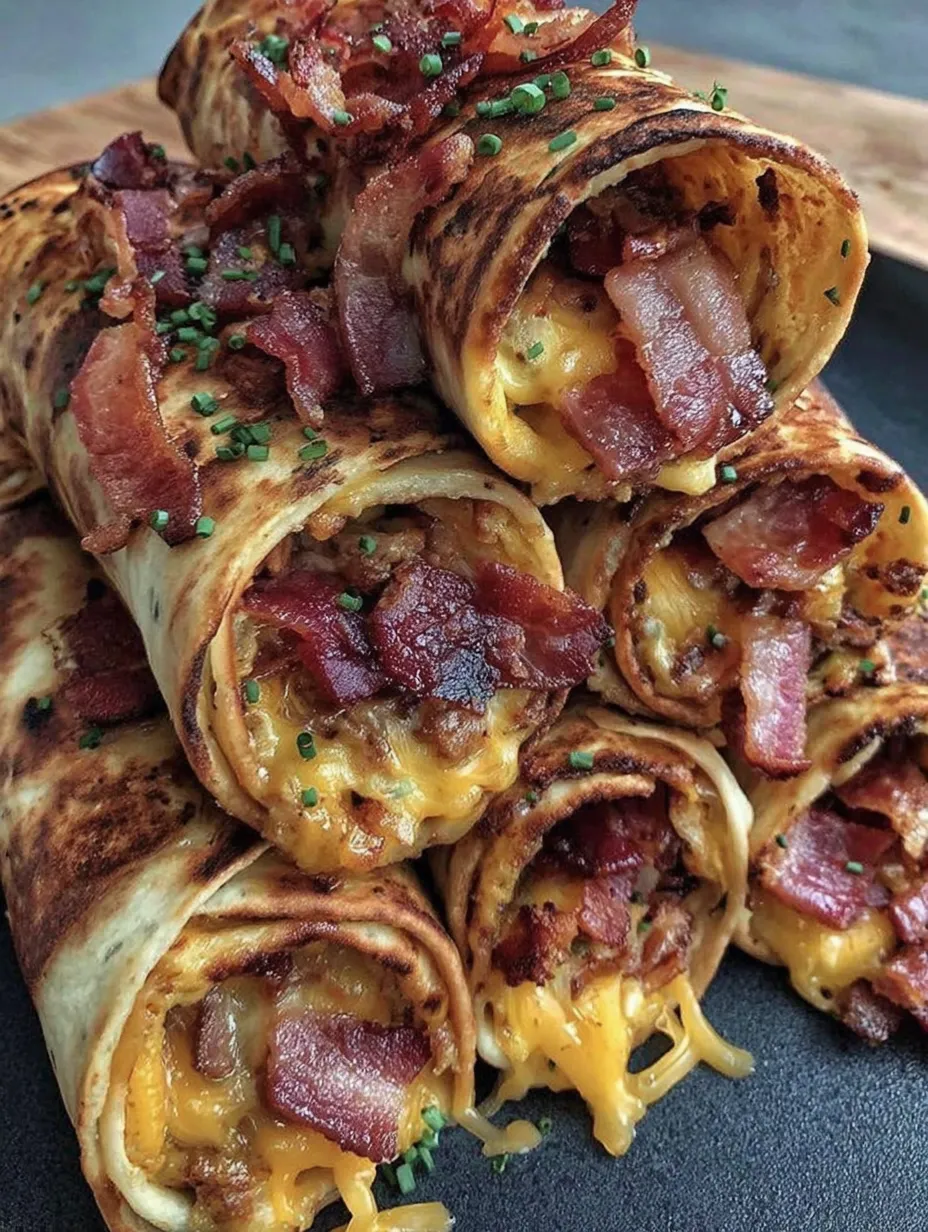
- Allow the rollups to cool slightly for 3 to 5 minutes before slicing. This brief rest helps the cheese set just enough to not completely ooze out when cut. Slice each roll into 1inch pieces and arrange them cut-side up on a serving platter for maximum visual appeal.
I discovered through happy accident that adding a thin layer of cream cheese before the other ingredients creates an even richer flavor profile. My daughter now refuses to eat them any other way, claiming they taste "exactly like the cheeseburgers from her favorite restaurant, but better."
Make-Ahead Magic
These rollups can be assembled up to 24 hours in advance and stored in the refrigerator. Simply wrap them tightly in plastic wrap to prevent the tortillas from drying out. When ready to serve, remove from the refrigerator while the oven preheats, brush with a little extra melted butter, and bake as directed. This makes them perfect for entertaining when you want to enjoy your own party instead of being stuck in the kitchen.
Creative Variations
Transform these rollups to match your favorite burger styles. For a mushroom Swiss version, sauté sliced mushrooms until golden and substitute Swiss cheese for the cheddar. Bacon lovers can double the bacon quantity. For a spicy Southwest twist, add diced jalapeños and substitute pepper jack cheese. Vegetarians can enjoy these too by replacing the bacon with sautéed vegetables like bell peppers and onions, creating a fajita-inspired variation that's equally delicious.
Serving Suggestions
While these rollups are fantastic on their own, they reach new heights when served with dipping sauces. Offer small bowls of ketchup, mustard, and mayonnaise mixed with a touch of sriracha for that authentic burger experience. For a more elegant presentation, serve them alongside a creamy herb dip made with sour cream, chives, and dill. These make an excellent appetizer before a casual dinner, but I've also served them as the main course alongside a crisp green salad for a fun family dinner.
Frequently Asked Questions
- → Can I use store-bought garlic butter?
Yes, store-bought garlic butter works if you're short on time. However, making your own allows you to adjust the flavors to preference.
- → What cheese alternatives can I use?
Gouda, Monterey Jack, or pepper jack make excellent substitutes if you'd like to mix things up.
- → Are these rollups freezer-friendly?
Yes, you can prepare the rollups ahead, freeze them before baking, and then bake directly from frozen. Add a few extra minutes of baking time.
- → How do I prevent the rollups from unrolling?
Ensure the tortillas are tightly rolled and placed seam-side down on the baking sheet. Brushing the seam with a little extra garlic butter can help secure it.
- → Can I make this vegetarian?
Yes, you can swap the bacon for sautéed mushrooms, roasted veggies, or crumbled plant-based bacon alternatives.