
 Pin it
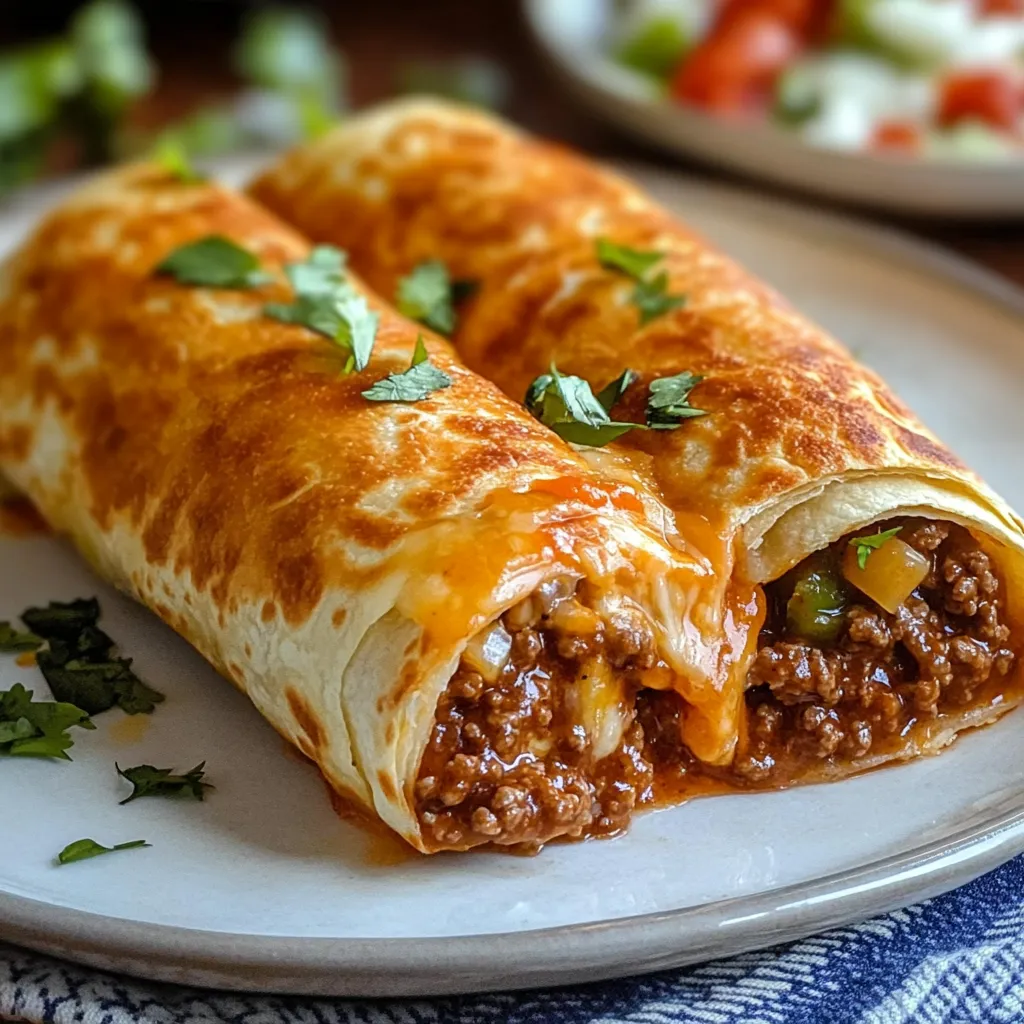
This classic beef and cheese chimichanga recipe transforms simple ingredients into a restaurant-worthy Mexican dish that's crispy on the outside and bursting with savory, cheesy goodness inside. My family requests these golden-fried bundles of joy at least once a month for our Friday fiesta nights.
I discovered chimichangas during my college years when I was trying to recreate my favorite Mexican restaurant dishes at home. After many failed attempts and oil splatters, I finally perfected this recipe that my husband now claims is better than any restaurant version we've tried.
Ingredients
- Ground beef: Provides the hearty base. Look for 80/20 lean to fat ratio for best flavor
- Onion and garlic: Create an aromatic foundation. Fresh is always best here
- Cumin, chili powder, and paprika: Form the authentic Mexican flavor profile. Toast them briefly for enhanced aroma
- Tomato sauce: Adds moisture and binds the filling. Use a quality brand without added sugar
- Cheddar cheese: Brings the sharp flavor while Monterey Jack adds creaminess and superior melting quality
- Large flour tortillas: Must be fresh and pliable. The burrito size works perfectly
- Vegetable oil: With a high smoke point like canola or peanut oil ensures crispy exterior without burning
Step-by-Step Instructions
- Brown the Beef:
- Cook ground beef in a hot skillet until no pink remains, about 7 minutes. Use a wooden spoon to break it into small, even crumbles. Drain excess fat but leave about a tablespoon for flavor.
- Develop the Aromatics:
- Add diced onion and minced garlic to the beef, cooking until onions become translucent, about 5 minutes. Stir frequently to prevent garlic from burning which would create bitterness.
- Build the Flavor Base:
- Sprinkle in all seasonings and stir continuously for one full minute. This crucial step blooms the spices, releasing their essential oils and developing deeper flavor profiles throughout the filling.
- Create the Sauce:
- Pour in tomato sauce and simmer gently for 5 minutes, stirring occasionally. The sauce should thicken slightly and coat the meat mixture. This reduction concentrates the flavors while ensuring the filling isn't too wet.
- Add Cheesy Goodness:
- Remove pan from heat and immediately stir in both cheeses until melted and incorporated. Let cool for 5 minutes so the mixture sets slightly, making it easier to roll without spillage.
- Master the Fold:
- Place warmed tortilla flat and add filling slightly below center. Fold the bottom edge over the filling, then fold in both sides tightly before rolling upward to create a secure package. Tuck any loose edges as you roll.
- Perfect the Fry:
- Heat oil to exactly 350°F using a thermometer for precision. Place chimichangas seam-side down first to seal the edge, then fry each side until golden brown and crispy, about 3-4 minutes per side. Maintain oil temperature between batches.
The secret to truly exceptional chimichangas is the quality of your cheese. I once made the mistake of using pre-shredded cheese with anti-caking agents, and the filling was grainy and wouldn't melt properly. Now I always grate my cheese fresh from the block for that perfect stretchy, gooey interior that makes everyone fight for the last chimichanga.
Baking Option
For a lighter version, these chimichangas can be baked instead of fried. Preheat your oven to 400°F and place assembled chimichangas on a baking sheet. Brush all sides generously with oil and bake for 20-25 minutes until golden and crispy. While slightly less decadent than the fried version, baked chimichangas still develop a satisfying crunch while cutting down on calories and cleanup.
Make-Ahead Magic
The beef filling can be prepared up to three days ahead and refrigerated in an airtight container. This actually improves the flavor as the spices have more time to meld. Just reheat the filling slightly before assembling. You can also assemble the entire chimichangas and refrigerate them for up to 24 hours before frying. This makes them perfect for entertaining when you want to minimize last-minute preparation.
Serving Suggestions
Create a vibrant chimichanga bar by setting out bowls of toppings like shredded lettuce, diced tomatoes, sliced jalapeños, sour cream, guacamole, and several types of salsa. Mexican rice and refried beans make perfect accompaniments to round out the meal. For beverages, horchata or a classic margarita complements the bold flavors beautifully.
Authentic Variations
While traditional Sonoran chimichangas often feature shredded beef or chicken, this ground beef version offers convenience without sacrificing flavor. For an even more authentic experience, try using machaca beef or adding a tablespoon of Mexican chocolate to the filling for subtle depth. Some regions in northern Mexico also include diced potatoes or roasted poblano peppers in the filling for added texture and flavor complexity.
Frequently Asked Questions
- → How do you prevent chimichangas from unrolling while frying?
Make sure to roll the tortillas tightly around the filling, and place them seam-side down in the oil first to seal. You can also use a toothpick to secure them if needed.
- → Can I bake chimichangas instead of frying them?
Yes, you can bake them. Brush each assembled chimichanga with vegetable oil and bake at 400°F (200°C) for 20-25 minutes, flipping halfway through for even crispiness.
- → What can I use as toppings for chimichangas?
Popular toppings include shredded lettuce, diced tomatoes, sour cream, guacamole, and salsa. You can add jalapeños or hot sauce for extra heat.
- → Can I make chimichangas ahead of time?
Yes, you can prepare the filling and roll the chimichangas a few hours ahead. Refrigerate them and fry just before serving for the best crispiness.
- → What sides pair well with chimichangas?
Spanish rice, refried beans, and a fresh side salad complement chimichangas perfectly. You can also serve them with tortilla chips and dip.