
 Pin it
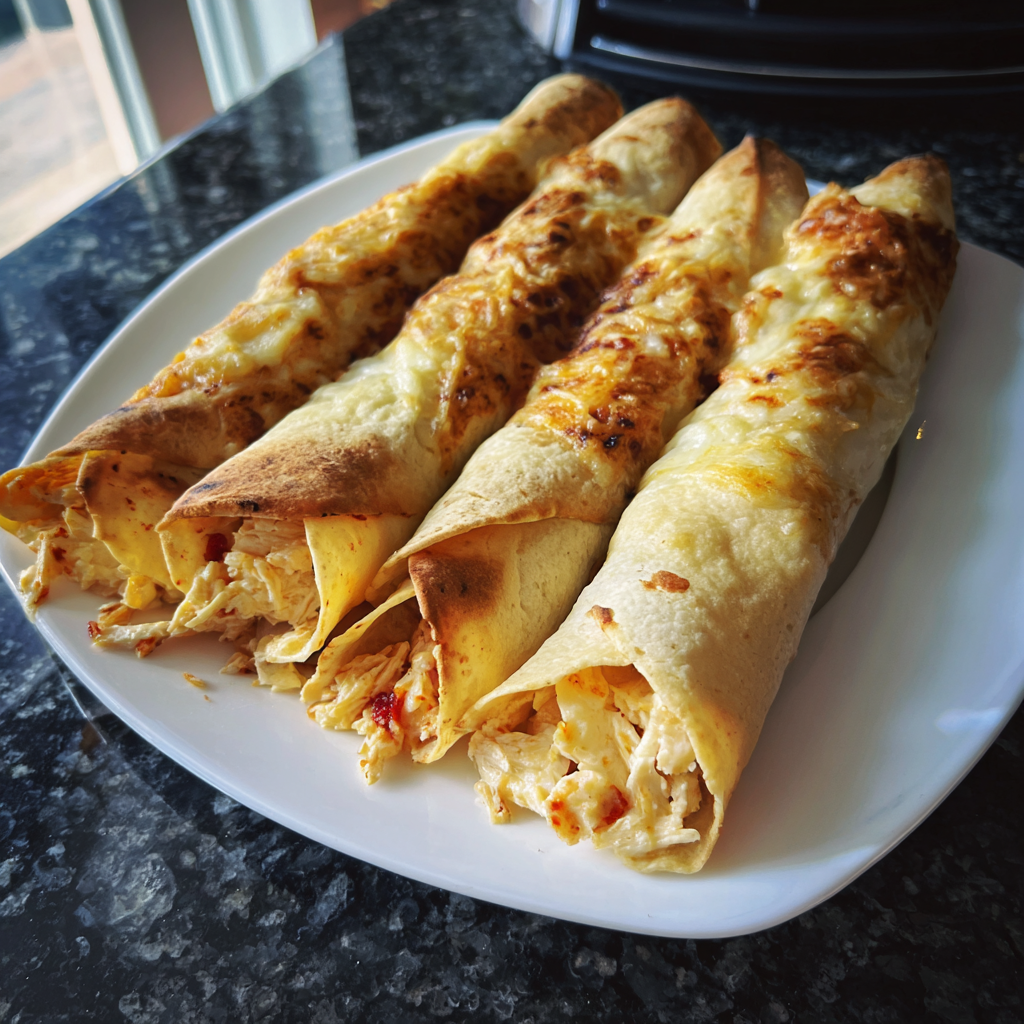
These baked cream cheese chicken taquitos are my secret weapon for busy weeknights. They deliver that satisfying, crispy crunch everyone craves, but with a ridiculously creamy, cheesy filling that takes just minutes to mix together. They feel special enough for guests but are simple enough for any Tuesday.
I first made these for an impromptu get together, and they vanished from the platter in minutes. Now, they are the single most requested appetizer I make, perfect for game days or just a cozy night in.
Ingredients
- Cooked shredded chicken: use a rotisserie chicken to save a ton of time and guarantee moist, flavorful meat
- Softened cream cheese: this is the secret to the ultra creamy filling, so be sure to let it sit on the counter for a bit before you start
- Shredded cheddar or Monterey Jack cheese: I personally prefer Monterey Jack because it melts so smoothly and has a mild, buttery flavor
- Salsa: choose your favorite kind, mild or spicy, as it adds both moisture and a big flavor punch
- Cumin: this brings a warm, earthy note that is absolutely essential for that classic taquito flavor
- Chili powder: for a touch of mild smokiness and beautiful color
- Salt and pepper: always taste your filling before you start rolling to make sure it's seasoned perfectly
- Chopped green onions or cilantro: these are optional but they add a fresh, bright finish that cuts through the richness
- Small flour tortillas: these are more pliable and easier to roll tightly than corn tortillas for this baked recipe
- Cooking spray or olive oil: this is what helps them get perfectly golden and crispy in the oven
Step by Step Instructions
- Get Ready to Bake:
- Start by preheating your oven to 400 degrees Fahrenheit. That high heat is crucial for getting a crispy exterior without having to fry anything. Go ahead and line a large baking sheet with parchment paper, which makes cleanup a total breeze later on.
- Mix the Creamy Filling:
- In a medium bowl, combine the shredded chicken, the truly softened cream cheese, all of your shredded cheese, the salsa, cumin, chili powder, salt, and pepper. If you're using them, stir in the green onions or cilantro now. Mix everything with a spatula until it's completely combined. You want to see all the ingredients evenly distributed throughout the filling.
- Warm and Fill the Tortillas:
- This is a small step I learned not to skip. Wrap your stack of flour tortillas in a damp paper towel and microwave them for about 20 to 25 seconds. This simple trick makes them soft and pliable, which prevents them from cracking when you roll them. Spoon about two generous tablespoons of the chicken mixture in a line across the lower third of a warm tortilla.
- Roll Them Up:
- Tightly roll each tortilla up, starting from the side with the filling. The most important part is to place it seam side down on your prepared baking sheet. This simple placement helps them stay sealed while they bake. Make sure to leave a little space between each taquito so the hot air can circulate and crisp up all the sides.
- Bake to Golden Perfection:
- Lightly spray the tops of the taquitos with cooking spray or use a pastry brush to apply a thin layer of olive oil. This is the secret to that beautiful golden brown color. Bake for 10 minutes, then use tongs to carefully flip each one over. Bake for another 8 to 10 minutes, or until they are crisp and golden all over. Let them cool for just a minute or two before serving, as that creamy filling will be very hot.

The cream cheese is obviously the star here, creating that luscious texture that makes these so addictive. I remember the first time my son tried one; his eyes lit up and he immediately declared them "cheesy chicken sticks," a name that has stuck in our house ever since.
Making Them Ahead
You can fully assemble these taquitos a day in advance, which is a lifesaver for party prep. Just roll them, place them on the baking sheet, cover tightly with plastic wrap, and refrigerate. When you're ready to eat, just pop the sheet into the preheated oven, adding a couple of extra minutes to the baking time to account for the chill.
Ingredient Swaps and Variations
Don't be afraid to play with this recipe. You can easily swap the chicken for leftover shredded pork or beef. For a fantastic vegetarian version, a mix of black beans, corn, and a little extra cheese works beautifully. You can also change up the cheese; pepper jack adds a nice kick, and a smoked gouda can bring in a whole new layer of flavor.
Freezing for Later
These taquitos freeze wonderfully, making them a perfect future meal. After assembling, place the baking sheet in the freezer for about an hour, or until the taquitos are solid. Once frozen, transfer them to a freezer safe bag or container. You can bake them straight from frozen, just add about 5 to 7 extra minutes to the total bake time.
Frequently Asked Questions
- → What kind of chicken is best for these taquitos?
Rotisserie chicken or leftover cooked shredded chicken works great. You can also use canned chicken, but be sure to drain it well.
- → Can I use different types of cheese?
Absolutely! Monterey Jack, pepper jack, or a Mexican cheese blend are all excellent options. Experiment to find your favorite combination!
- → How can I make these taquitos spicier?
Add a pinch of cayenne pepper to the filling or use a spicier salsa. You could also add some chopped jalapeños.
- → Can I prepare these taquitos ahead of time?
Yes! Assemble the taquitos and store them in the refrigerator for up to 24 hours before baking. You may need to add a few minutes to the baking time.
- → How do I freeze these taquitos?
Assemble the taquitos, then freeze them in a single layer on a baking sheet. Once frozen, transfer them to a freezer bag. Bake from frozen, adding a few extra minutes to the cooking time to ensure they're heated through.
- → What are some good serving suggestions?
These taquitos are delicious with guacamole, sour cream, salsa, or a side of Mexican rice, cilantro lime rice, or a fresh salad. Consider a cheese or queso dip.