
 Pin it
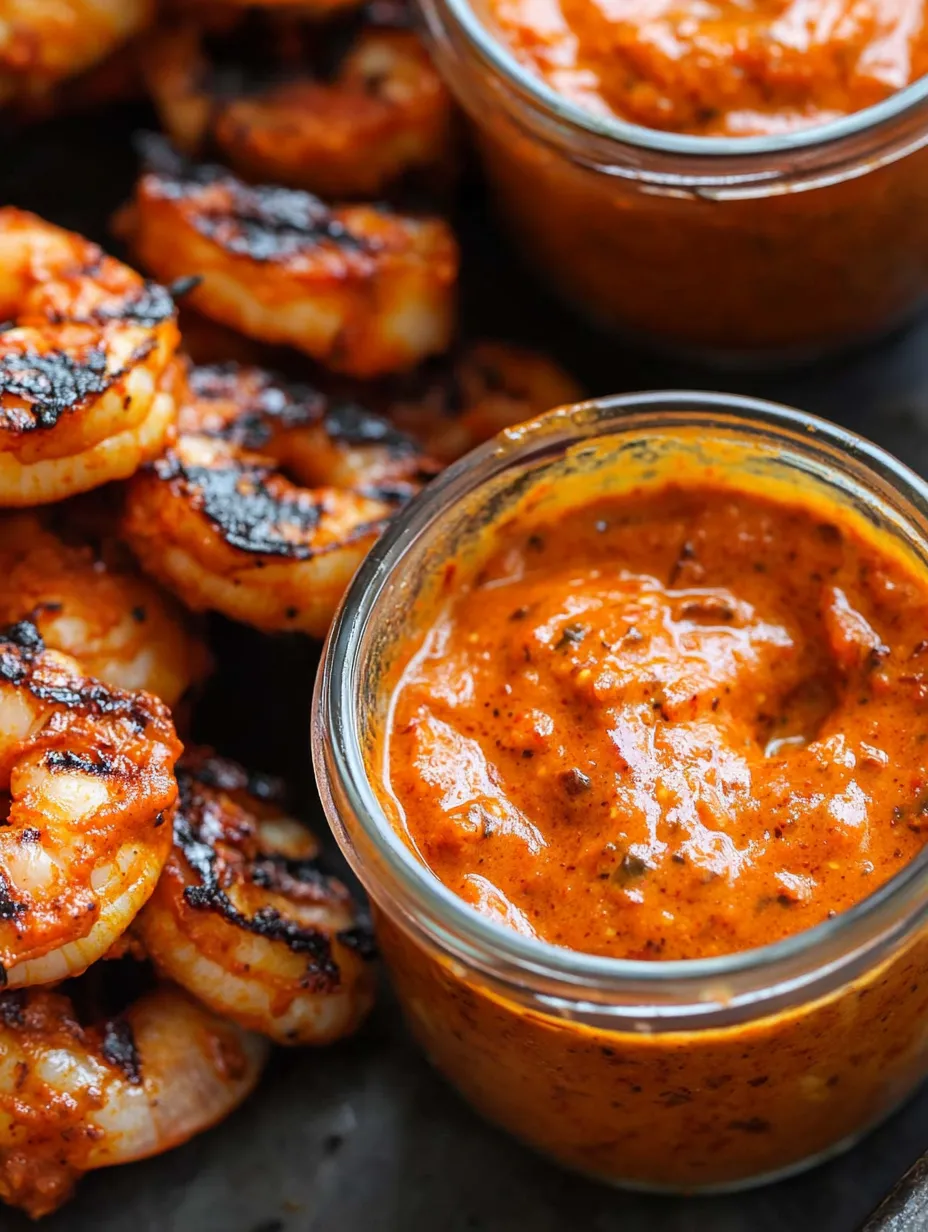
This vibrant homemade Peri Peri sauce transforms ordinary chicken into a Portuguese feast brimming with smoky-spicy goodness. The combination of charred vegetables and bright citrus creates that authentic restaurant-quality flavor that's impossible to find in store-bought versions.
I first made this sauce during a summer grilling session with friends and was amazed how it elevates simple chicken into something extraordinary. Now I keep a batch in my refrigerator at all times for quick flavor upgrades.
Ingredients
- Red bell peppers: bring sweetness and body to balance the heat after charring
- Red onion: provides aromatic depth and slight sweetness when charred
- Fresh garlic cloves: add essential pungency use the freshest you can find
- Lemon juice and zest: provide the characteristic bright tangy notes essential to authentic peri peri
- Red Thai chilis: deliver variable heat adjust amount to your preference
- Smoked paprika: contributes that crucial smoky dimension Spanish varieties offer the best flavor
- Bay leaves: infuse subtle herbal notes during simmering
- Extra virgin olive oil: adds richness and helps emulsify the final sauce
Step-by-Step Instructions
- Char the Vegetables:
- Develop deep flavor by grilling red peppers and onions until blackened in spots but not completely soft. The caramelization creates those complex smoky notes that form the foundation of great peri peri sauce. This step cannot be skipped if you want authentic flavor.
- Create the Base Puree:
- Process charred vegetables with garlic lemon juice vinegar spices and chilis until smooth. Take your time here to ensure no chunks remain for the silkiest texture. The machine should run for at least 1-2 minutes for proper blending.
- Simmer for Flavor Development:
- Cook the puree with bay leaves over low heat for 20-30 minutes stirring occasionally. This crucial step allows the flavors to meld intensify and mellow any harshness from the raw garlic and onions. The mixture should reduce slightly and deepen in color.
- Final Emulsification:
- After cooling blend again with additional bright ingredients and slowly stream in olive oil. This technique creates a proper emulsion giving the sauce body and preventing separation. The magic happens when oil integrates fully creating that creamy texture.
The first time I served this sauce at a family barbecue my Portuguese neighbor actually asked for the recipe claiming it tasted more authentic than his usual restaurant order. The secret is balancing all those flavor dimensions smoky tangy garlicky and spicy without letting any single note dominate.
Controlling the Heat Level
The beauty of homemade peri peri sauce lies in complete heat customization. For a milder family friendly version reduce Thai chilis to 3-5 or substitute half with milder serranos. For extra heat lovers increase to 15 chilis or add a habanero for fruity intense spice. Always taste before adding more heat you can increase but never decrease once mixed.
Make-Ahead and Storage
This sauce actually improves with time as flavors marry and develop complexity. Make a batch up to three days before needed for best results. Store in glass containers as the sauce can stain plastic. Refrigerate for up to two weeks or freeze in ice cube trays for single portions lasting three months. When defrosting whisk vigorously to reemulsify.
Cultural Context
Peri Peri sauce originates from Portuguese colonists in Africa who encountered the African bird's eye chili called piri piri. The sauce became integral to Portuguese cuisine particularly in Mozambique and Angola before returning to Portugal and later spreading globally through Portuguese communities. Unlike many commercial versions authentic peri peri balances heat with complex flavors rather than overwhelming spice.

Frequently Asked Questions
- → What gives Peri Peri Sauce its distinctive flavor?
Peri Peri Sauce gets its bold flavor from roasted bell peppers, red Thai chilis, zesty lemon, smoked paprika, and a hint of vinegar for tanginess.
- → How can I adjust the spice level of the sauce?
You can adjust the spice level by reducing or increasing the amount of red Thai chilis used. For a milder sauce, seed the chilis before blending.
- → What types of chicken pair best with Peri Peri Sauce?
Peri Peri Sauce pairs well with both bone-in, skin-on cuts and boneless, skinless chicken. It's excellent for grilled, baked, or pan-seared preparations.
- → Can I make this sauce in advance?
Yes, Peri Peri Sauce can be made in advance. Store it in an airtight container in the refrigerator for up to a week for optimal freshness.
- → How should I serve Peri Peri Sauce?
This sauce is versatile. Use it as a marinade, baste chicken during grilling, or serve it as a dipping sauce alongside cooked chicken.