 Pin it
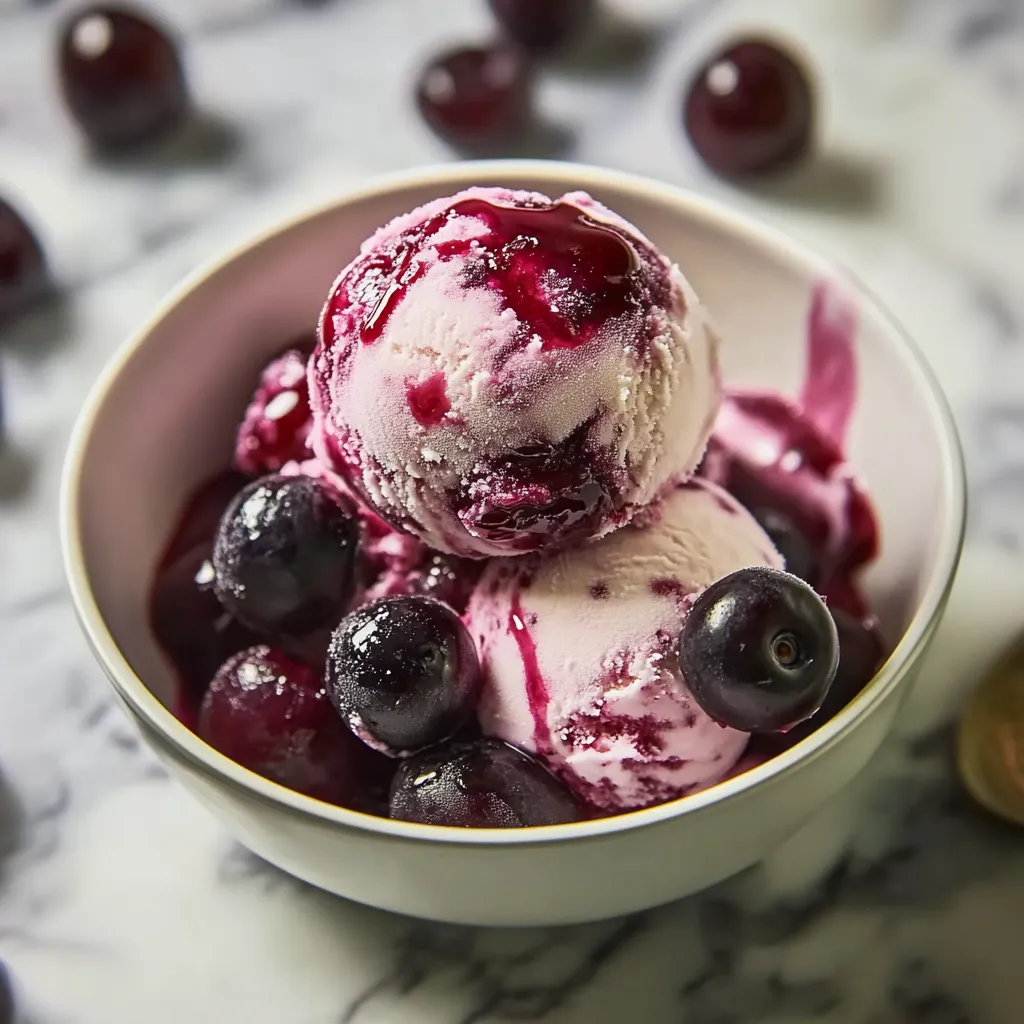
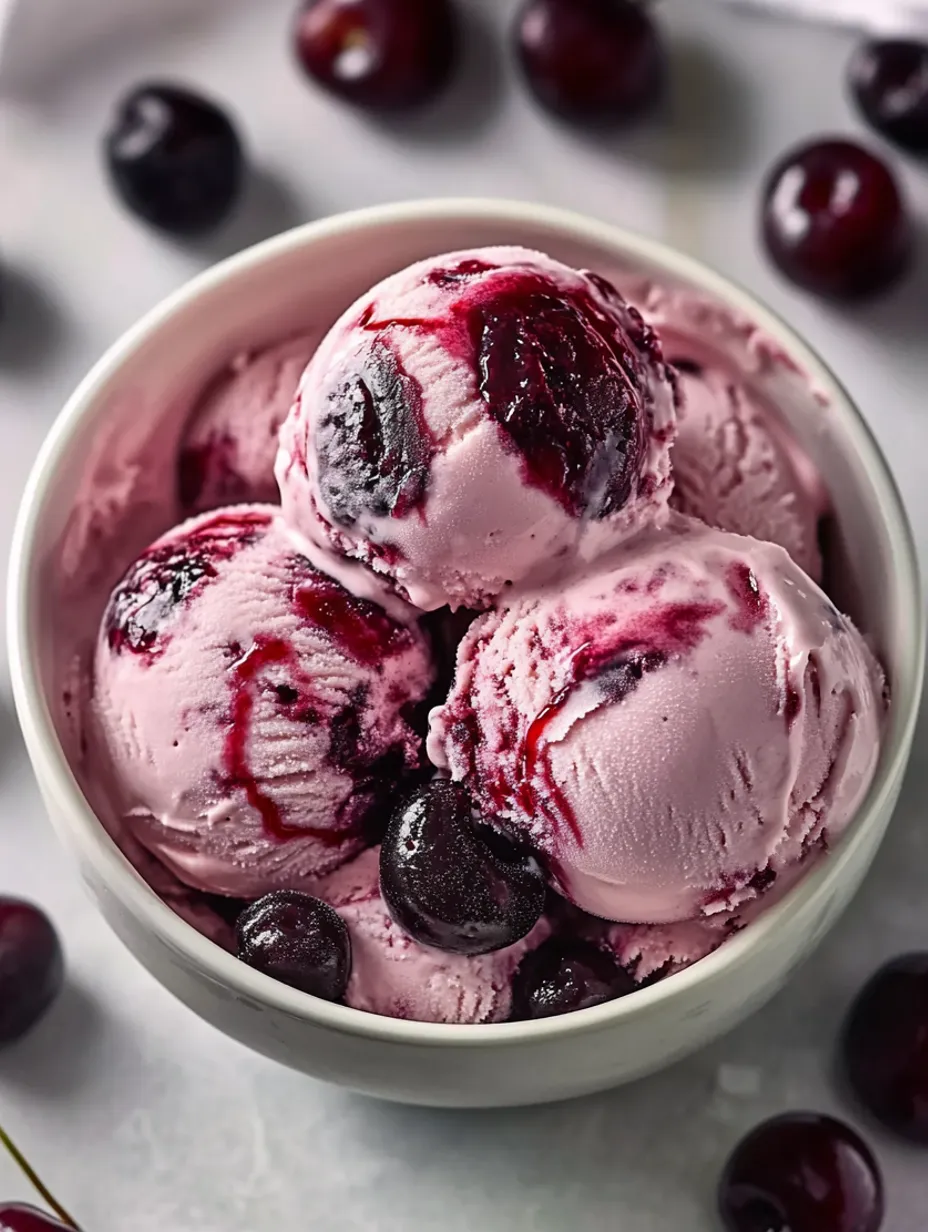
I stumbled onto this homemade cherry ice cream recipe last summer when I had way too many cherries from our local farmers market and couldn't eat them fast enough. Let me tell you - it was a total game-changer! There's something magical about watching those fresh cherries transform into the most incredible, creamy dessert that puts store-bought ice cream to shame. The deep red color and intense cherry flavor just can't be matched by anything from the freezer aisle.
I made this for my neighbor's cookout last July, and three different people asked me for the recipe before the night was over. Even my father-in-law, who claims he "doesn't like fruity desserts," went back for seconds!
Perfect Ingredients
Cherry SelectionBing cherries give that classic deep red color and sweet flavor. Rainier cherries create a more delicate, floral ice cream if you can find them. Even slightly underripe cherries work well since you'll be adding sugar. Fresh is best, but frozen cherries work in a pinch - just thaw and drain them really well.
Flavor EnhancersHeavy cream provides that rich, velvety base that makes homemade ice cream special. A splash of vanilla extract rounds out the cherry flavor beautifully. That tiny bit of almond extract is absolutely essential - don't skip it! A pinch of salt makes all the flavors pop without making the ice cream taste salty.
I tried making this once with light cream instead of heavy to save calories, and it was definitely not worth the sacrifice! The heavy cream creates that luxurious mouthfeel that makes homemade ice cream so special. Some things are worth the splurge!
 Pin it
Simple Preparation
Cherry Prep MagicStart by pitting your cherries - this is definitely the most tedious part, but so worth it! If you make ice cream often, a cherry pitter is worth the investment. Once pitted, I like to macerate my cherries by tossing them with some sugar and a squeeze of lemon juice, then letting them sit for about 30 minutes. This draws out their juices and intensifies the flavor. You'll be amazed at how much liquid they release!
Base CreationWhile the cherries are macerating, prepare your ice cream base. I whisk together heavy cream, sugar, a splash of vanilla, and that crucial tiny bit of almond extract. The key is to make sure the sugar is completely dissolved before moving on. Sometimes I warm the mixture slightly just to help the sugar dissolve, then chill it thoroughly before churning.
Churning StrategyWhen it's time to churn, you have options based on how chunky you want your ice cream. You can blend some or all of the macerated cherries into the base for a uniform color and flavor, or leave them chunky and fold them in at the end. I like to do a bit of both - blend about half the cherries into the base for color and flavor, then fold in the remaining cherries at the end for bursts of fruit in every bite.
I learned through trial and error about the importance of thoroughly chilling the base before churning. My first attempt was impatient disaster - the ice cream never set up properly because the base was still slightly warm. Now I make sure everything is well-chilled, and I even put my mixing bowl in the freezer beforehand.
My first batch turned out a bit icy because I used too many cherries with all their juice. Now I strain the macerated cherries and add just enough of the juice to flavor the base without making it watery. This small step makes a huge difference in the final texture.
Perfect Mix-Ins
While this cherry ice cream is absolutely delicious on its own, there are some amazing mix-ins that take it to the next level. Dark chocolate chunks create that classic cherry-chocolate combination that never disappoints. For some crunch, try adding toasted slivered almonds in the last minute of churning. My personal favorite variation is adding a ribbon of fudge sauce. After churning the ice cream to a soft-serve consistency, layer it in your storage container with drizzles of slightly cooled fudge sauce. As you scoop it later, you'll get these beautiful ribbons of chocolate running through the cherry ice cream. For a more grown-up version, try adding a tablespoon of amaretto or kirsch to the base. The alcohol not only enhances the flavor but also helps keep the ice cream from freezing too hard.
Serving Suggestions
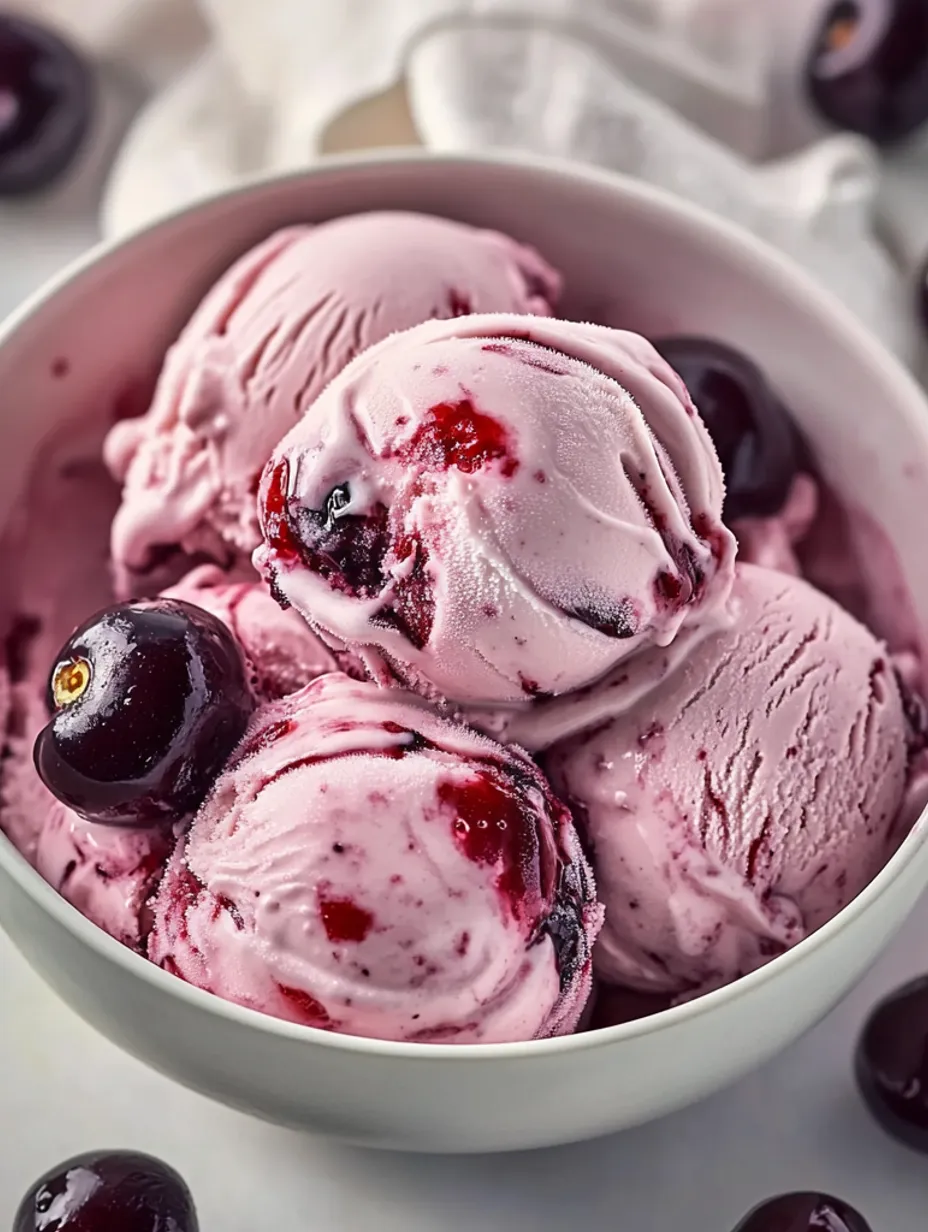
This cherry ice cream is stunning on its own in a simple bowl or cone, but for special occasions, I like to create cherry ice cream sundaes. Top a generous scoop with some warm chocolate sauce, fresh whipped cream, and a perfect fresh cherry with the stem still attached. For dinner parties, try serving small scoops between courses as a palate cleanser, or alongside a slice of dark chocolate cake for a sophisticated dessert. The bright flavor and color make a beautiful presentation. If you're feeling creative, sandwich the ice cream between two chocolate cookies for homemade ice cream sandwiches that will disappear in minutes at any summer gathering.
Storage Tips
Homemade ice cream is best consumed within a week, but with a few tricks, you can maintain that fresh-churned quality. Store it in a shallow container rather than a deep one - this helps maintain a consistent temperature throughout. Press a piece of plastic wrap directly onto the surface of the ice cream before putting the lid on to prevent ice crystals from forming. If your ice cream becomes too hard in the freezer, let it sit at room temperature for about 5-10 minutes before scooping. This brings it to the perfect temperature for scooping and enhances the flavor, which is actually muted when the ice cream is too cold.
 Pin it
Chef's Notes
Texture Tip: For extra creamy ice cream, add a tablespoon of vodka to the base - the alcohol won't freeze, keeping the ice cream softer. Flavor Boost: Toast your almonds before adding almond extract for a more pronounced nutty flavor. Color Enhancement: A tiny drop of red food coloring can amplify the visual appeal if your cherries aren't giving enough color.
This homemade cherry ice cream has become my signature summer dessert that friends and family request all season long. There's something so satisfying about transforming fresh, seasonal fruit into a creamy treat that brings joy with every spoonful. Whether you're an experienced ice cream maker or trying it for the first time, this recipe is sure to become a favorite in your dessert rotation!
Frequently Asked Questions
- → Can I use frozen cherries instead of fresh?
- Yes! Thaw frozen cherries completely and drain excess liquid before macerating with sugar.
- → What if I don't have an ice cream maker?
- You can make this no-churn style by whipping the cream until stiff peaks form before folding in other ingredients, then freezing.
- → How long will this ice cream keep in the freezer?
- Stored in an airtight container, it will keep for up to 2 weeks, though the texture is best within the first week.
- → Can I leave out the almond extract?
- Absolutely. The almond extract enhances the cherry flavor but can be omitted if you prefer.
- → Why do you macerate the cherries first?
- Macerating softens the cherries and draws out their juices, creating a more flavorful syrup that blends into the ice cream.
